Mobile App Version 1
- Dion Le Roux
- Liz Griffin (Unlicensed)
Applies To Version(s): 3, 3.5, 3.7

Please note that all screenshots on this page are taken from the iPhone version.
Getting the App
The ShareVision app can be obtained from either the iTunes store or the Google (Android) store, depending on your phone.
Please note this an older version of the mobile app and this article is here for those that are still using this version. Information on the latest version of the mobile app is on the Mobile App Version 4 page.
About ShareVision Mobile App
The ShareVision Mobile app allows staff in the field to access the features of ShareVision they'll use most often, allowing them to add journal and goal entries for the Individuals they support. Just like "regular" ShareVision, they'll only be able to see and access those programs, residences, and individuals that they've been given permission to access.
Note that while the app itself is free, you must have purchased the ShareVision Mobile App add-on in order for the app to connect to your ShareVision site.
How to Log in to the ShareVision Mobile App
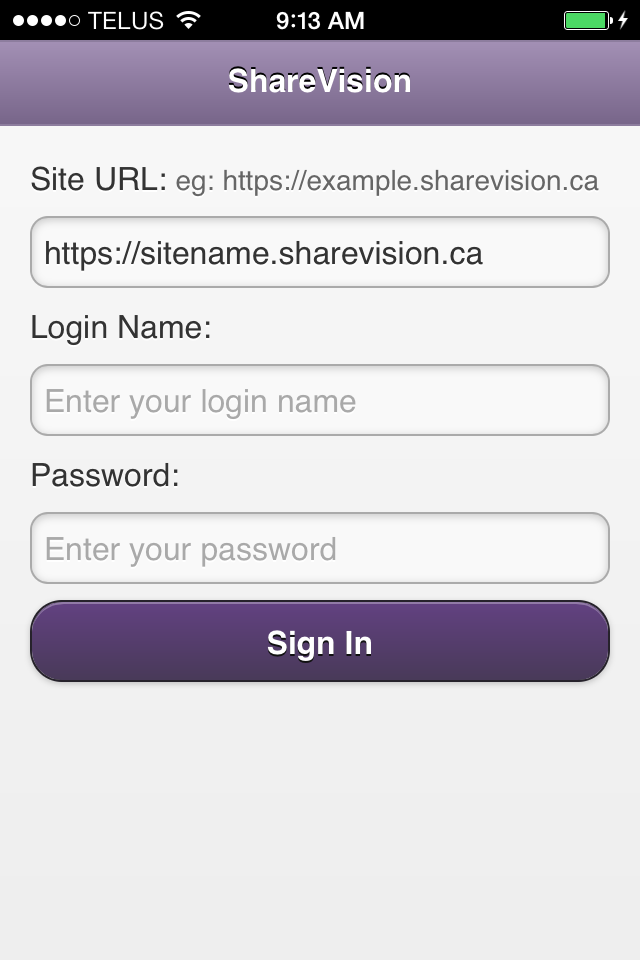
The ShareVision mobile app uses the same sort of security as it does when you access ShareVision through your browser. As such, it has a similar login process:
Make sure you've downloaded the app from the appropriate store, and that it has been successfully installed.
Tap the app icon to start it.
Input your ShareVision site. Note that you do not need to type "https://".
Put in your Login Name and Password. These will be the same as your user name and password for your full ShareVision site.
Tap Sign In.
How To Add a Daily Journal Entry
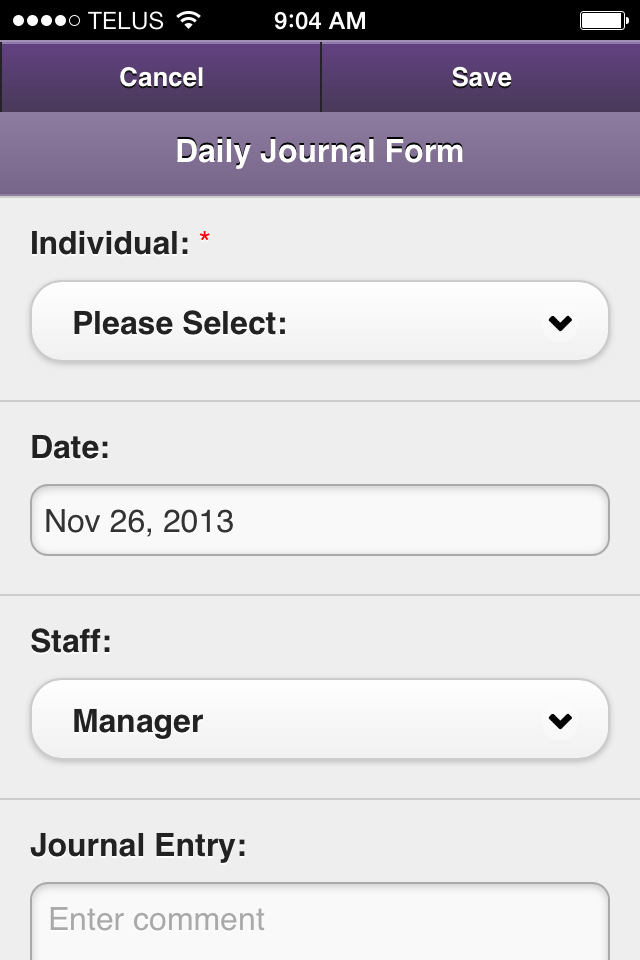
Tap Add Daily Journal from the main menu or from a program, residence, or Individual page.
If you started from an Individual page, the name of the Individual will populate the first field. Otherwise, select the Individual you're creating the entry for.
Fill in the other fields as necessary. Note that all fields marked with a red asterisk are required. The Add photo and Add video options will access mobile device's galleries or cameras.
Tap Save when complete or Cancel to discard the entry.
How To Add Goal Progress
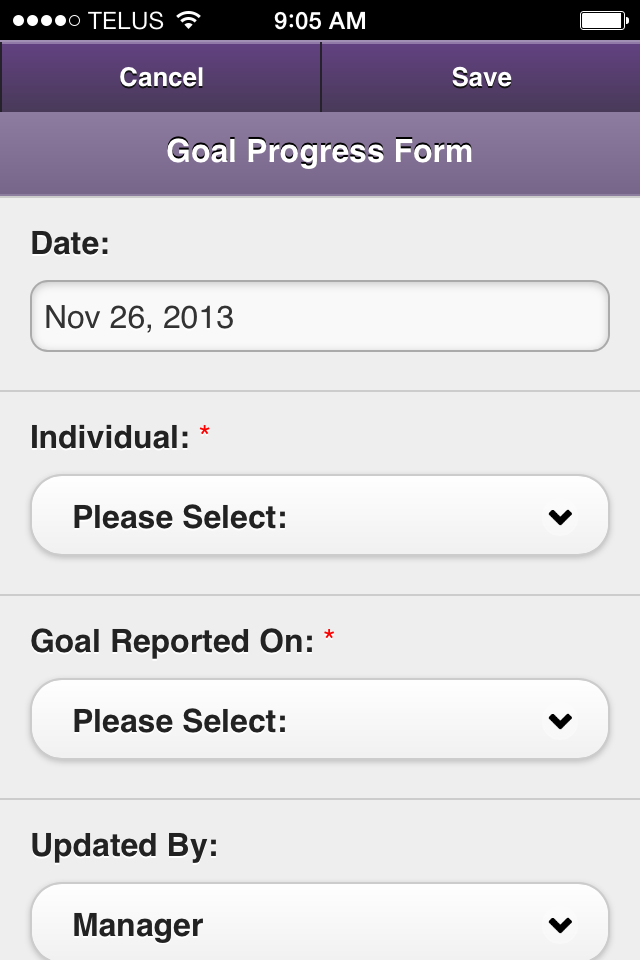
Tap Add Goal Progress from the main menu or from a program, residence, or Individual page.
If you started from an Individual page, the name of the Individual will populate the first field. Otherwise, select the Individual you're creating the entry for.
Fill in the other fields as necessary. Note that all fields marked with a red asterisk are required. The Add photo and Add video options will access mobile device's galleries or cameras.
Tap Save when complete or Cancel to discard the entry.
How To Edit and Delete Daily Journal Entries and Goals
Go to the Individual for whom the entry was created. This can be done either by finding the Individual through the My Individuals area, or navigating to the Program/Residence page and access the Individual from there.
Tap the name of the Individual whose entry you'd like to change.
Tap the type of form.
Tap the entry you'll be modifying.
Tap Delete or Edit as necessary. For deleting, tap OK to continue. For editing, tap Save to save your changes.
Related Articles